
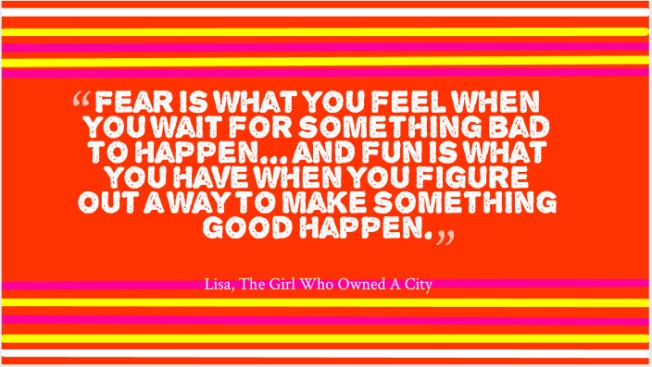
Quote from The Girl Who Owned A City
While I am getting back into the rhythm of writing in my blog, I am finding it difficult to figure out what to say, what to post, and how to post it. I invested in a consultation with Kathy Cano-Murillo (AKA The Crafty Chica) this month. I have wanted to get back into making things and selling them on the internet, and I so admire her style and her enterprise. So, when I saw that she was launching Crafty Chica Consulting, I signed up immediately. Even my horoscope reading that day was on board with the decision. I will be sharing more on that process as time goes by.
What I am here to write about today is the amazing world of quote generators. I, along with many others, am addicted to Pinterest. Among my several boards, I have one that stores inspirational quotes. While perusing them to come up with my mission statement, I found that a few of my favorites were missing. For the time being, I just wrote them down in my journal. The quotes are pretty obscure, so I figured I would never find them online.
The quotes of which I speak come from a book called The Girl Who Owned A City, written by O. T. Nelson. According to the Wikipedia article, it is “a post-apocalyptic book about leadership, survival, and ownership.” At the beginning of each of the three parts, there is a quote from Lisa, the heroine of the novel. I am fond of all three quotes, but the one in part three is the most compelling to me.

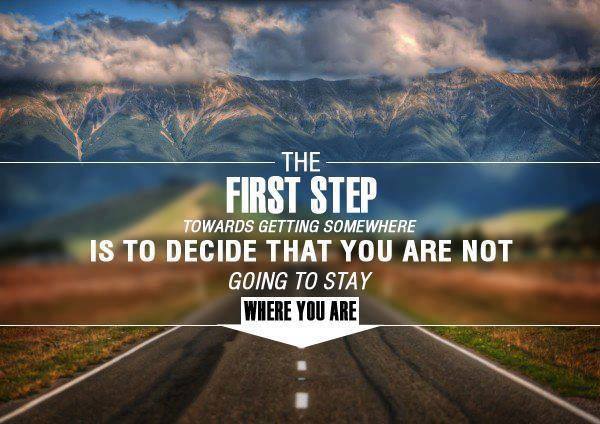
My first creation using a Quote Picture generator.
I have a copy of those words in my office, typed into Microsoft Word or PowerPoint and printed out. But, when trying to come up with an image to include with my post (a Crafty Chica recommendation), I wondered what to do. First, I tried the new “quote” option in the WordPress menu. That was unsatisfactory, but I didn’t know if I wanted to do a whole Photoshop project in order to make a quote poster.
So, good little Googl-er that I am, I just did a little searching. Sure enough, there’s an app for that. So, I spent (probably too much) time giving Lisa that quote space that she deserves, using QuotesCover.com. There was a little bit of trial and error, and I haven’t added a watermark with my website on them yet, but I am working on that. In case you are interested, here are the Top 10 EASY ways to make picture quotes for Facebook and more…
This morning, when I went to print the two I had made to tape into my paper journal, I was hit with an idea. This year, I will be teaching Language Arts again (6th grade ELL), and I am determined to hit the ground running with reading. I also will be teaching 6th grade social studies to my ELL students. I have already come up with several uses for these generators. Luckily for me, my school system has invested in color laser jet printers, which are shared by groups of teachers.
- The first would be as an activity for students to complete when reading a novel or biography. Students would create a Quote Cover for their favorite quote from the novel. Of course, there would probably need to be a tutorial, a rubric, and an explanation of why they chose that quote. I feel that it is important for children to know that important lessons can be learned from reading. This could also be used when studying famous people in history.
- I also like to teach idioms and sayings in my classroom. In Spanish, there is a whole series of sayings called dichos. Dichos are Spanish proverbs or sayings. They are similar to US proverbs in that they impart wisdom and express a common sense truth by revealing aspects of human nature and culture. I used to have a series of posters that I created using the book Folk Wisdom of Mexico/Proverbios y dichos mexicanos by Jeff Sellers. Students could make their own dicho posters, in Spanish and in English
- Finally, I would like to kick start my writing program by using an old favorite: Get Ready to Write by Karen Blanchard and Christine Root. This book takes students through a series of writing exercises. The topics covered are about the student’s family, interests, activities, and life. By the end of the book, students will have created and published a book. I think that a personal statement or favorite quote would be a great addition to this exercise.
I had a lot of fun creating my quote posters using QuotesCover.com. There are five different formats to choose from. I used the “Google+ cover” generator, and then I think I used the “E-card” format. I was not able to use the “For Prints” option. Once I chose a format, I stuck to the basic editor, which allows you to scroll through choices in text and color formats. I went a little bit farther, by changing the color schemes and playing with the line and dot pens. One thing I found frustrating was the inability to use my apostrophe key for contractions. Maybe that’s an incompatibility with Firefox.
Now, when I went to save my quotes, I found that the Google+ generator gave me a file to save that could not be opened with my computer. Instead, I used my SnagIt editor to download the graphic as a jpeg image. The E-card format was easier to download, but I used SnagIt as a backup anyway. My next task will be to create my third quote with a picture background. I will include that in my post as well.

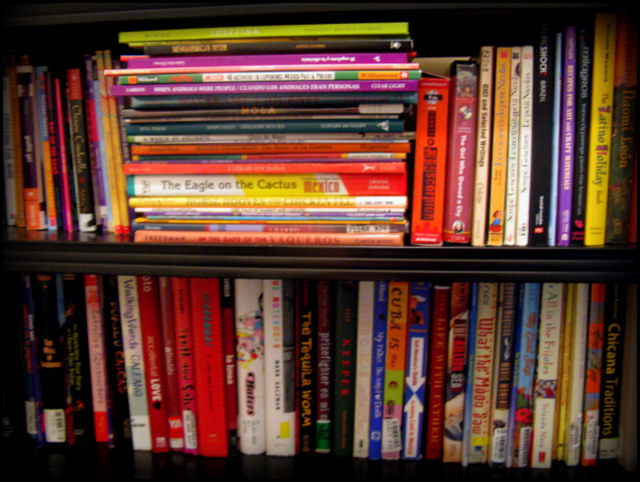
Quote generated using one of my collage images as the background.
Please let me know if you have every used this tool in your classroom. I can already see myself making classroom rules posters for the beginning of the year…
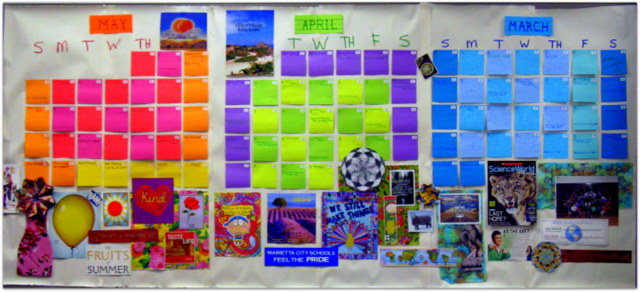 I put the months from right to left, I know. I put a lot of thought into the layout. The month of March was extended day month. Because of the days we missed because of the freakish snow and ice storms, we had to add an hour to the school day on Monday through Thursday. Fridays, we used our “normal” schedule. I used four different colors of turquoise blue to differentiate between A Days, B Days, Fridays, and weekends and holidays.
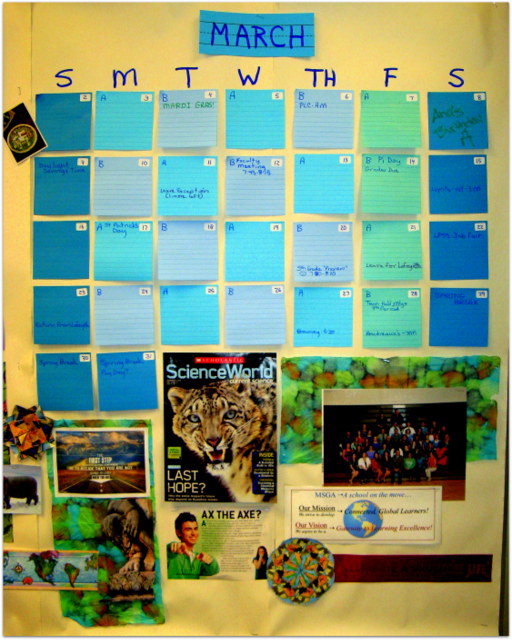
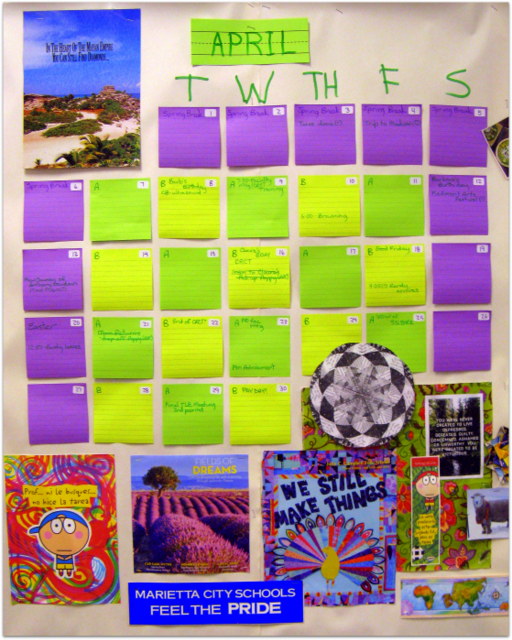 I loved April – it began with Spring Break!!! It was a tough month after that, though, with CRCT testing – I got to spend 4 1/2 hours a day with my advisement class AND keep them quiet during and after testing. I used one of a gorgeous packet of napkins that I could not resist buying at Party City. It is mostly covered up now, but the green and purple in the flowers were perfect. I also put my Distroller notebook cover and bookmark up there, along with my Marietta bumper sticker and covers from catalogs.
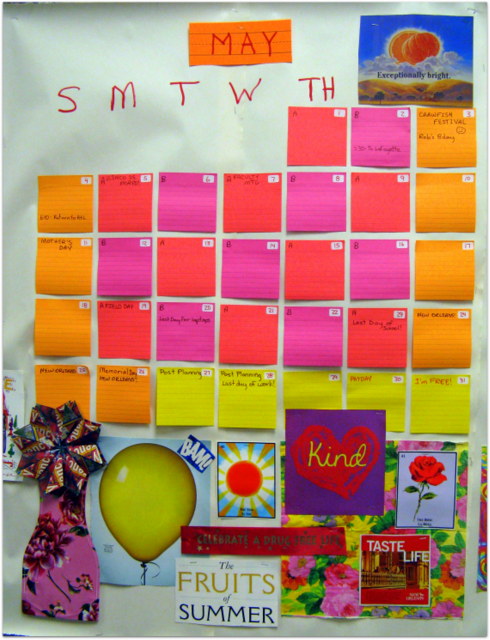 Now it is MAY!!! Finally!!!! I love my bright sunny colors. The napkin in the bottom right is also an acquisition from Party City. It has my favorite colors and roses! The Kind Heart is from the Penzey’s catalog, the loteria cards are from my Zarela collection, and the balloon, I had been keeping around for a long time and finally used it. I put up BAM! and Taste Life, because my reward for making it through this hellish year is Memorial Day weekend in NEW ORLEANS!!!!


